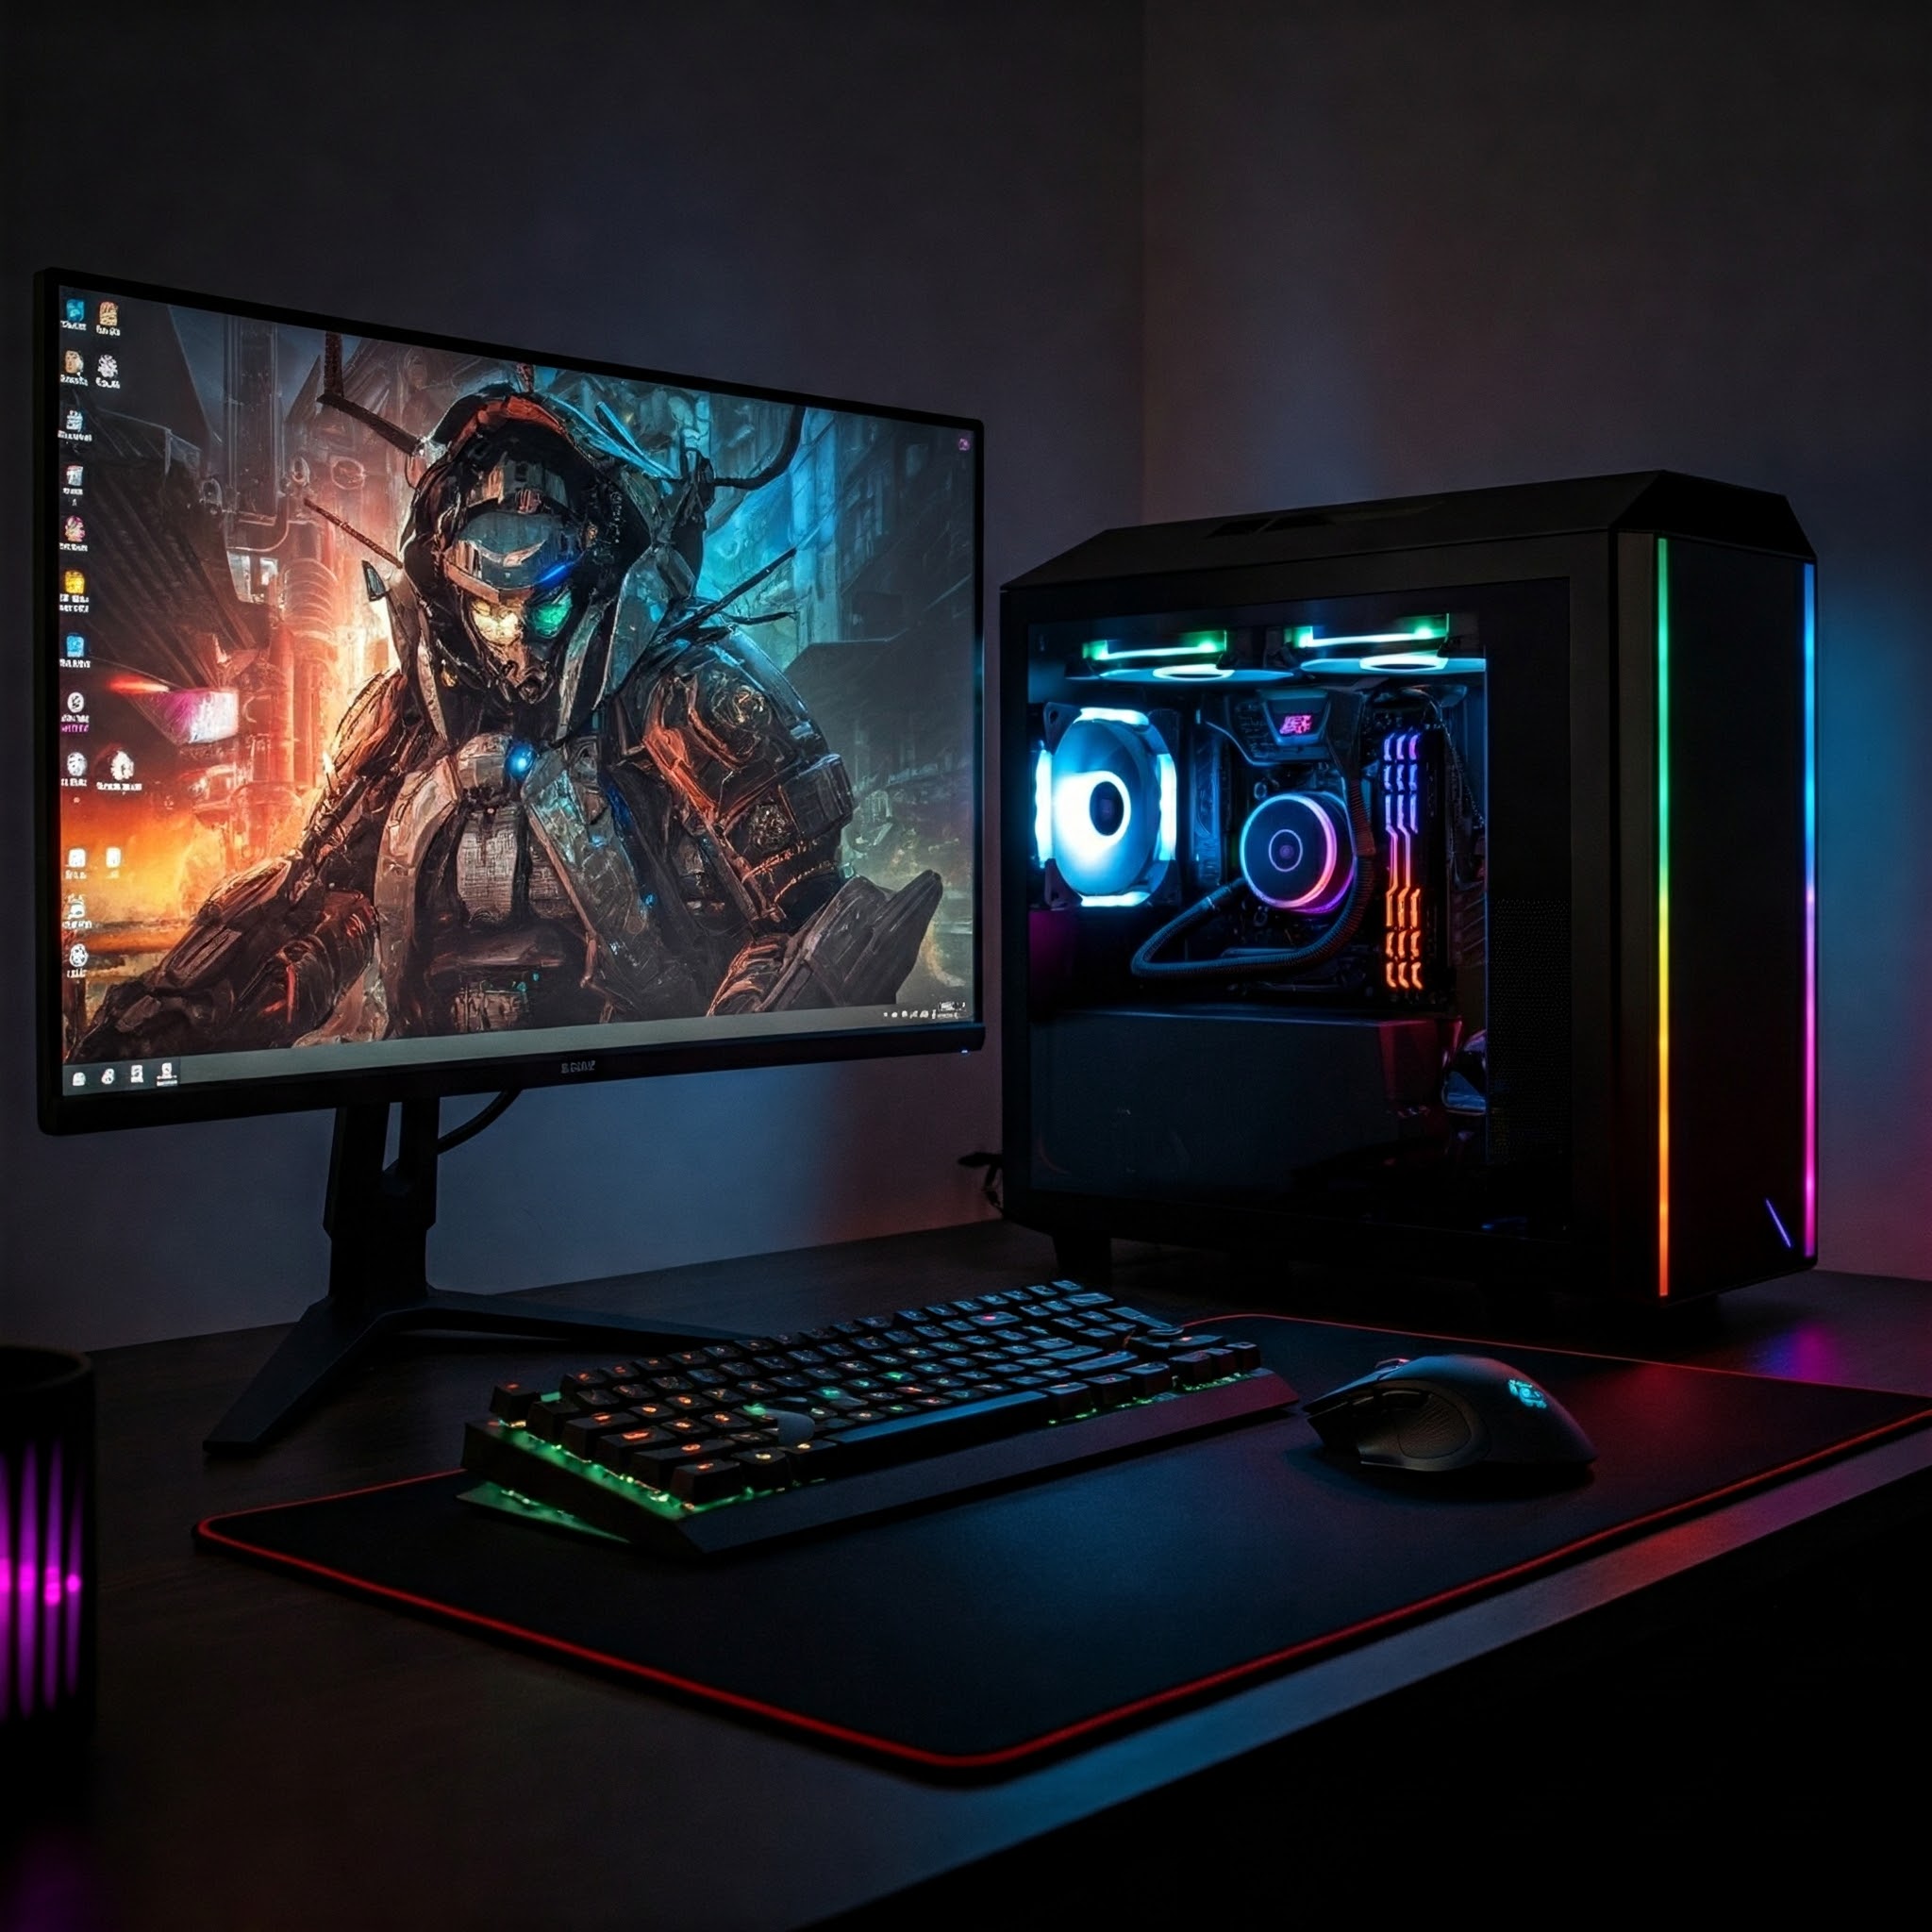
Building Your Dream Gaming PC: A Step-by-Step Guide

Ever dreamed of building a high-performance gaming PC that can handle the latest AAA titles? Building your own PC offers a unique and rewarding experience, allowing for customization and potentially saving money compared to pre-built options. Let's dive into the essentials of building your dream gaming rig.
Step-by-Step Guide
1. Plan Your Build
- Budget: Determine how much you're willing to spend on your PC build. This will help you allocate funds for essential components.
- Purpose: Define your primary use for the PC. Will it be solely for gaming, or will you also use it for content creation, streaming, or other tasks? This will influence your component choices.
- Research: Research the latest hardware and software to make informed decisions. Read reviews, compare benchmarks, and stay updated on the latest technology trends.
2. Choose Your Components
- CPU (Central Processing Unit): The brain of your PC. Intel and AMD offer a range of CPUs with varying core counts and clock speeds. Choose a CPU that meets your performance needs and budget.
- GPU (Graphics Processing Unit): Essential for gaming and graphics-intensive tasks. Consider NVIDIA and AMD GPUs, and choose one that fits your budget and desired resolution and frame rate.
- Motherboard: The backbone that connects all components. Choose a motherboard compatible with your CPU and RAM, and with the features you need (e.g., number of PCIe slots, M.2 slots, etc.).
- RAM (Random Access Memory): Crucial for multitasking and smooth performance. Opt for 16GB or more for gaming, and consider faster RAM speeds for improved performance.
- Storage: SSDs (Solid State Drives) offer fast boot times and load times, while HDDs (Hard Disk Drives) provide bulk storage at a lower cost. Consider a combination of both for optimal performance and storage capacity.
- Power Supply Unit (PSU): Ensures reliable power delivery to all components. Choose a PSU with sufficient wattage to power your system, and with an 80+ efficiency rating for energy savings.
- Case: Protects your components and provides cooling options. Choose a case that fits your motherboard size (e.g., ATX, microATX) and has good airflow for optimal cooling.
3. Assemble Your PC
- Prepare Your Workspace: A clean, static-free environment is essential to prevent damage to components. Use an anti-static wrist strap to ground yourself.
- Install the CPU and Cooler: Follow the motherboard's manual for precise installation of the CPU and cooler. Apply thermal paste between the CPU and cooler to ensure efficient heat transfer.
- Install RAM: Slot the RAM modules into the designated slots on the motherboard. Make sure they are properly seated.
- Install the Motherboard into the Case: Secure the motherboard to the case using screws and standoffs. Connect the front panel I/O cables (power button, reset button, etc.) to the motherboard headers.
- Install the Storage Drives: Connect SSDs and HDDs to the motherboard's SATA ports and secure them in the case's drive bays.
- Install the GPU: Slot the GPU into the PCIe slot on the motherboard and secure it with screws. Connect the necessary power cables from the PSU to the GPU.
- Connect Power Supply Cables: Connect the power cables from the PSU to the motherboard, GPU, and storage drives. Ensure all connections are secure.
- Connect Peripherals: Attach your keyboard, mouse, monitor, and other peripherals to the appropriate ports on the PC.
4. Install the Operating System
- Create a Bootable USB: Download the operating system installation files (Windows or Linux) and use a tool like Rufus or Windows Media Creation Tool to create a bootable USB drive.
- Boot from the USB: Enter the BIOS/UEFI setup (usually by pressing DEL or F2 during startup) and select the USB drive as the boot device.
- Follow the On-Screen Instructions: Follow the on-screen instructions to install the operating system on your PC. Choose the desired drive and partition for installation.
5. Install Drivers and Software
- Chipset Drivers: Install the latest chipset drivers from the motherboard manufacturer's website. These drivers ensure proper communication between the CPU, motherboard, and other components.
- GPU Drivers: Install the latest GPU drivers from NVIDIA or AMD. These drivers optimize the GPU's performance and provide the latest features and bug fixes.
- Other Drivers: Install drivers for other components like sound cards, network cards, and peripherals. These drivers ensure that all components function correctly.
- Gaming Software: Install your preferred gaming platform (Steam, Epic Games Store, etc.) and gaming launchers. You can now download and play your favorite games!
Conclusion
Building a PC can be a complex process, but with careful planning, research, and patience, you can create a powerful gaming machine tailored to your needs and preferences. Enjoy the journey of building your dream PC and the satisfaction of knowing you built it yourself!